Affiliate Disclosure: This post contains affiliate links. If you buy through one of them, we may earn a small commission — at no extra cost to you. We only recommend kits we’ve actually researched and would suggest to a friend.
The Box Arrives, and It’s Smaller Than You Expected
Most people picture something more elaborate before their first kit shows up — some kind of lab equipment, maybe. In reality, it’s a surprisingly small, simple package. Here’s exactly what’s typically inside, what each piece does, and how to make sure your sample actually gets processed without delays.
What’s Typically in the Box
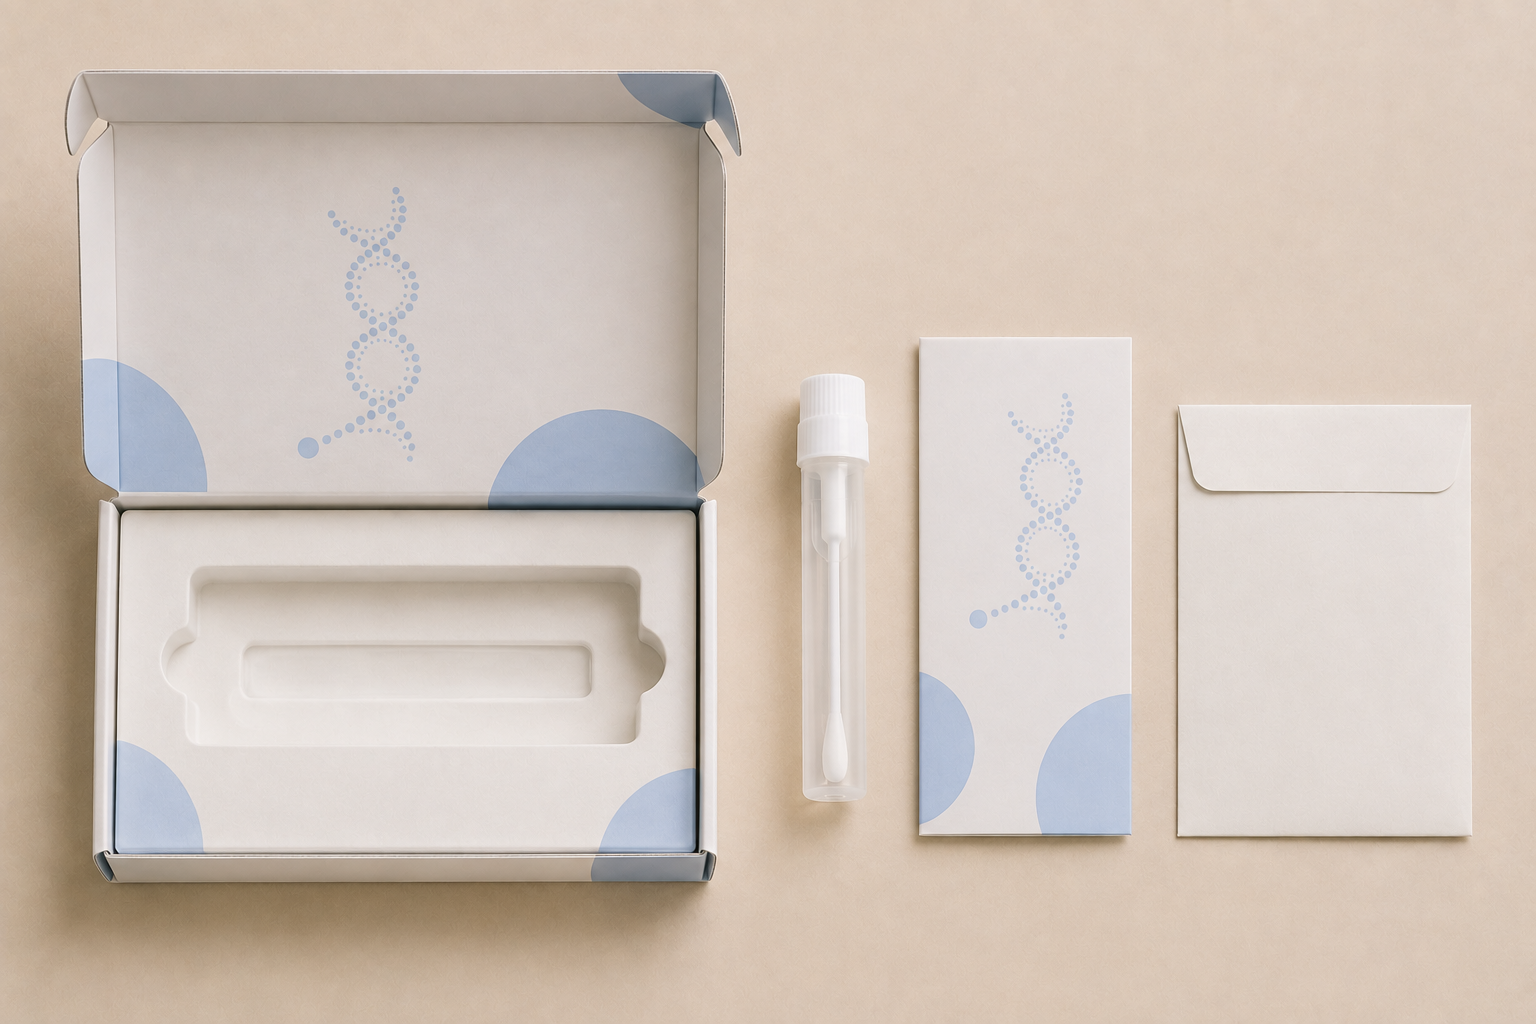
The collection device. This is either a saliva collection tube or a cheek swab, depending on the company. Saliva kits include a funnel-topped tube with a fill line; swab kits include one or two individually wrapped swabs.
A stabilizing solution (saliva kits only). Saliva tubes usually have a small reservoir of blue liquid built into the cap. When you seal the tube, this solution mixes with your sample to preserve the DNA during shipping — this is a normal, expected part of the process, not something to be concerned about.
An activation code or barcode. This unique identifier links your physical sample to your online account. It’s usually printed on a card, on the tube itself, or both.
Instructions. A printed quick-start guide walking through registration, collection, and return steps. Some companies also print a QR code linking to a video walkthrough.
A prepaid return package. This typically includes a biohazard bag (a standard precaution for any biological sample, not a sign of something unusual), an outer shipping box or envelope, and a prepaid shipping label already affixed or included separately.
Sometimes: alcohol wipes or extra materials for cheek swab kits, used to clean the inside of the cheek area before swabbing if specified in the instructions.
What You Actually Need to Send Back
This trips people up more than it should: you’re only sending back the sealed sample tube or swab, packaged in the provided biohazard bag and shipping materials — nothing else. You keep the instructions, the outer box the kit arrived in, and any promotional materials.
Some kits ask you to write your activation code on the outer shipping label or include a card with the code inside the return package, so double-check your specific instructions here, since this step varies by company and missing it can cause processing delays.
Step-by-Step: What the Return Process Actually Looks Like
1. Register your kit online first. Before you even open the collection materials, activate your kit using the barcode or activation code through the company’s website. This step cannot be skipped or done later — the lab cannot process an unregistered sample.
2. Follow the pre-collection instructions. For saliva kits, this usually means avoiding food, drink (other than water), gum, and smoking for at least 30 minutes beforehand. For swab kits, timing tends to be less strict, but check your specific instructions.
3. Collect your sample. Saliva kits: spit into the tube until you reach the fill line, then seal the cap, which releases the stabilizing solution. Swab kits: swab the inside of each cheek for the specified time (often 30-60 seconds per side).
4. Seal the sample in the provided biohazard bag. This is standard practice for shipping any biological sample and doesn’t require any special handling beyond following the printed instructions.
5. Package it in the return shipping materials. Place the bagged sample into the return envelope or box, and confirm the prepaid shipping label is attached and legible.
6. Drop it in any standard mailbox or post office. Most kits use standard postal services rather than requiring a special drop-off location — check your specific instructions, but this is the case for the majority of major kits.
7. Track your kit’s status online. Most companies show a status update once your sample is received at the lab, giving you a rough sense of where you are in the timeline even before results are ready.
Common Return Mistakes to Avoid
Forgetting to register before mailing. This is the single most common source of processing delays, covered in more detail in our guide on DNA testing mistakes to avoid.
Sending back the wrong items. Occasionally people mail back extra materials (instruction booklets, the outer box) unnecessarily, which doesn’t cause harm but isn’t needed and can occasionally cause confusion at sorting facilities if the package looks unusual.
Not sealing the tube completely. For saliva kits, an improperly sealed cap can lead to leakage during transit, which sometimes results in a rejected sample and a replacement kit being sent.
Losing the activation code before registering. If you misplace the card or can’t find the code before registering online, most companies have a lookup tool using your order number, so don’t panic — just check your original order confirmation email.
What Happens After You Mail It
Once the lab receives your package, most companies update your account status accordingly, and processing begins. From here, it’s purely a waiting game — turnaround time varies significantly by company, from as fast as two to three weeks with some wellness-focused kits, up to six to eight weeks or longer with more detail-heavy ancestry kits.
Frequently Asked Questions
Do I need special packaging to mail back a DNA sample? No. The kit includes everything required — a biohazard bag, return packaging, and a prepaid shipping label. Standard mail services and mailboxes are used for the vast majority of kits.
What if I forgot to register my kit before sending it? Register online as soon as you realize, and contact customer support — some companies can still match an unregistered sample to your account manually, though this can add delays.
Can I use a kit past its “use by” date if I still have an old one lying around? It depends on the company and how the stabilizing solution has held up. Contact customer support to check, since results from a degraded sample can sometimes come back inconclusive.
The Bottom Line
The actual mechanics of sending back a DNA test are simpler than they look from the outside — register first, follow the collection instructions carefully, and send back only what’s specified. Most delays and complications come from skipping the registration step or rushing the collection process, both of which are entirely avoidable with a few extra minutes of care.
コメントを残す